With the onset of sunny days, summer residents start sowing early cold-resistant greens in greenhouses and garden beds to please their families with fresh vitamins. But you can aim higher and greet the summer with the first harvest of cucumbers!
Even an inexperienced gardener understands that in order to get an early harvest of such a heat-loving crop as cucumbers, we need to talk about planting in a greenhouse. After all, for germination, cucumber seeds need a soil temperature of at least 15 ° C (preferably 23-26 ° C), and in open ground, full warming of the soil can be expected no earlier than May. In addition, recurrent frosts are frequent guests in almost all regions of the country, so it is not worth taking risks by planting plants in open ground.
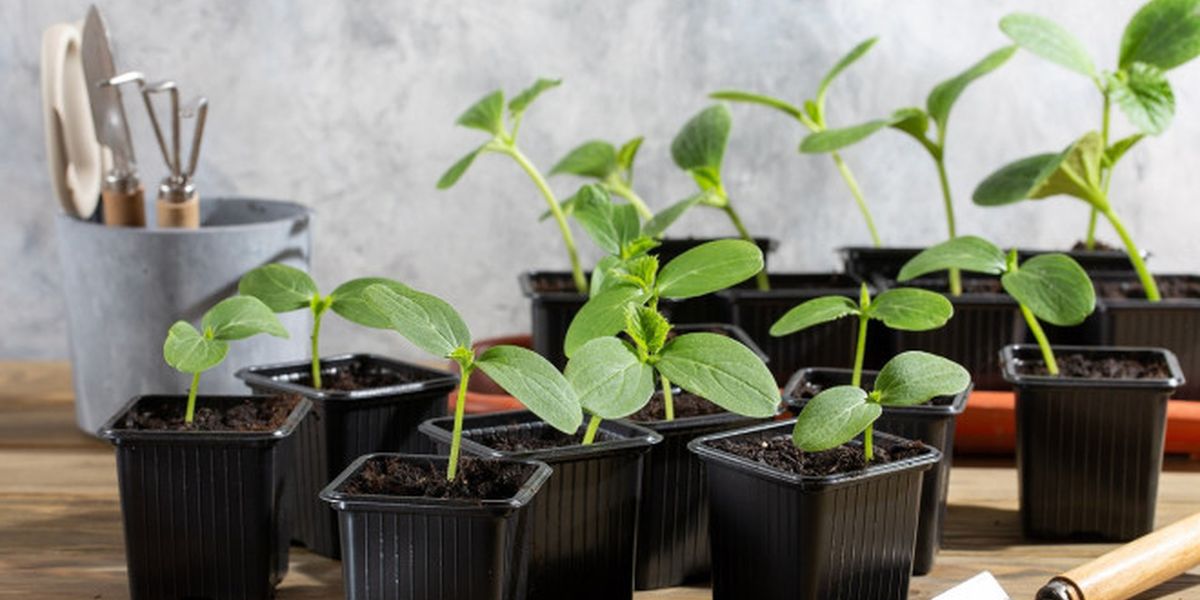
In a greenhouse, cucumbers can be grown both by direct sowing in the ground and through seedlings. Moreover, it is the second method that allows you to bring fruiting closer so that you can harvest the first cucumbers not even in June, but already at the end of May. What you need to do for this - read below.
Of course, if we want to get an early harvest, then the main feature of the variety should be considered the speed of ripening. In our case, for sowing, you should choose ultra-early and early varieties or hybrids of cucumbers, which should also be parthenocarpic (self-pollinating), since pollinating insects cannot "work" in a closed space as effectively as in open beds.
Preparing containers and soil for seedlings
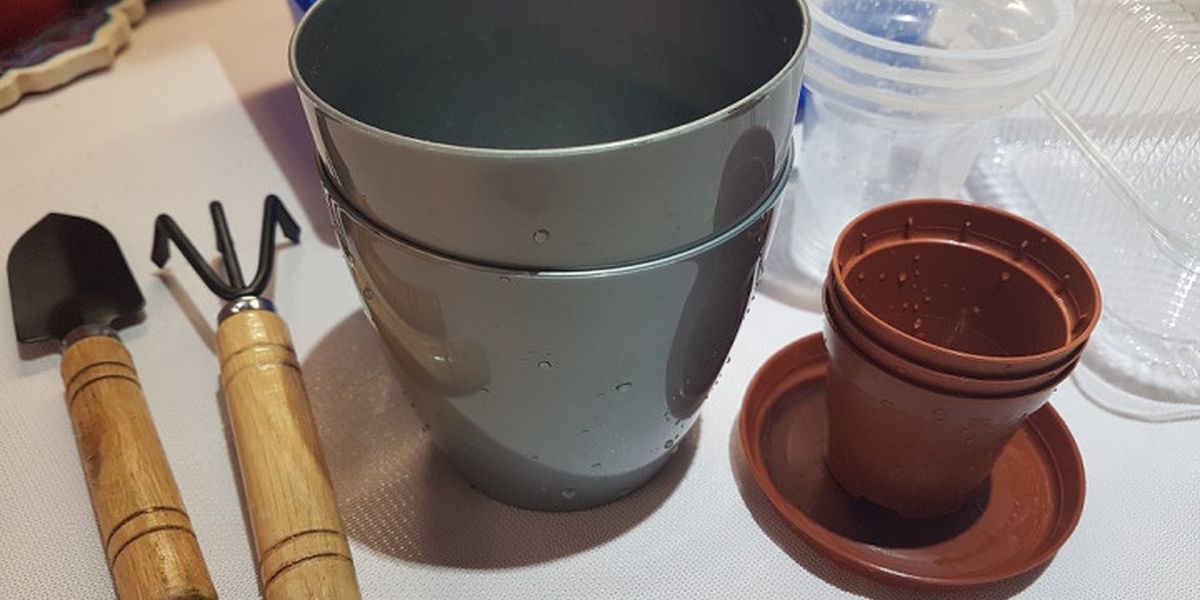
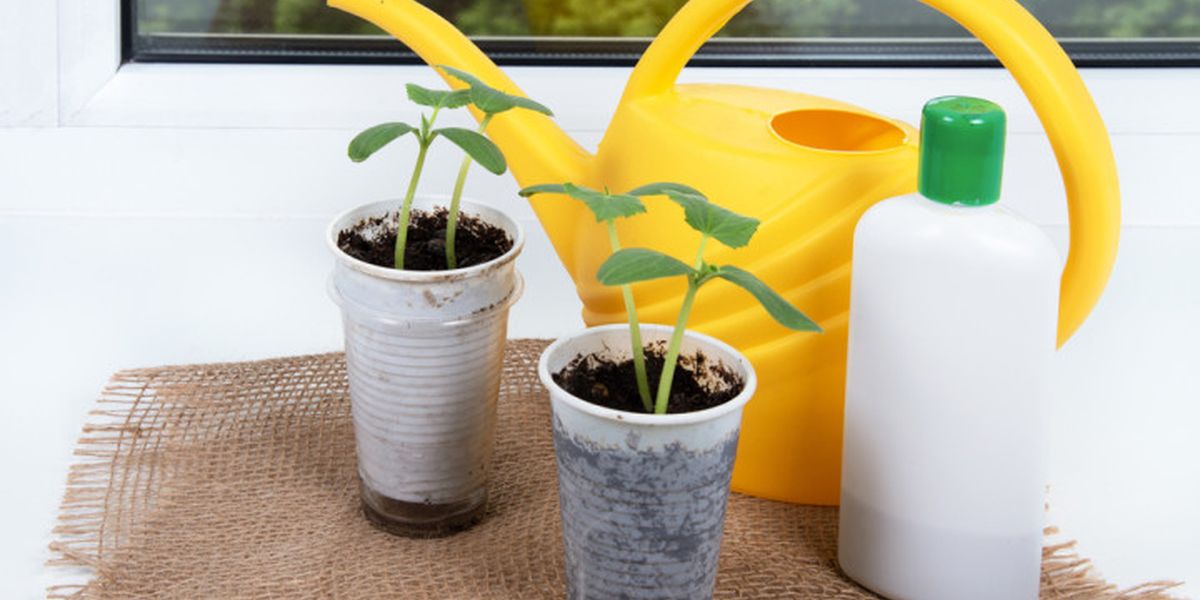
You should not choose large common containers for sowing cucumbers - the roots of young plants will not be able to master a large volume of soil and it will sour. It is better to take low individual pots, plastic or peat cups or seedling cassettes with a cell volume of 200-250 ml. Make sure there are drainage holes to drain excess water.
Remember that the soil dries out faster in individual containers than in common ones, so you will have to moisten it more often. But such containers allow you to avoid picking, which cucumber seedlings do not tolerate well.
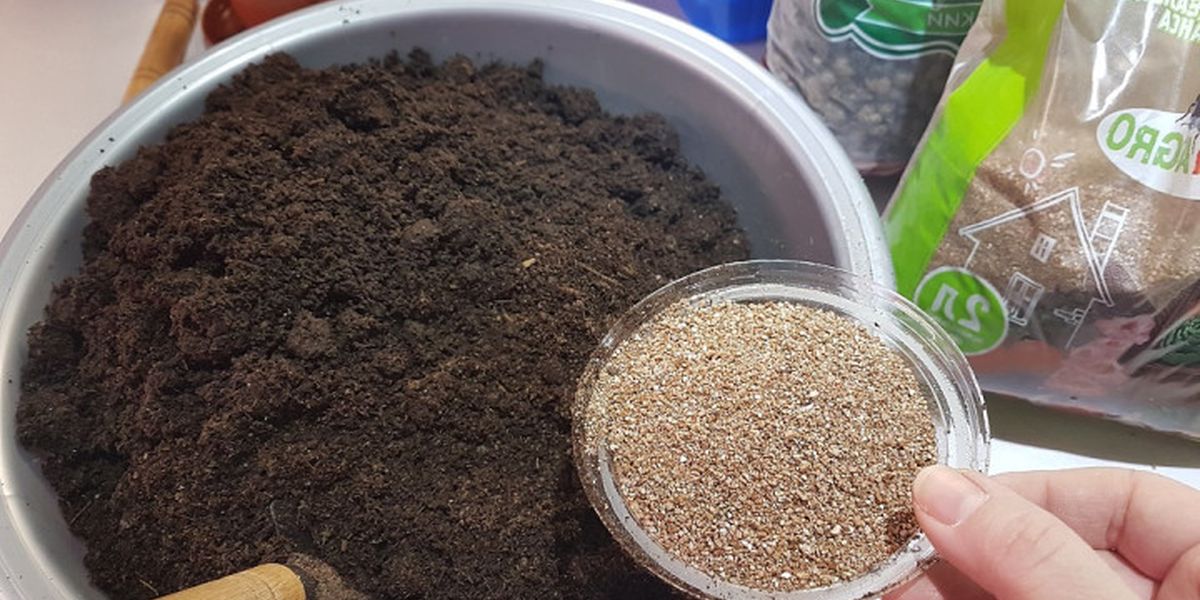
Cucumbers are quite a "gluttonous" crop: they need soil with a high content of nutrients, saturated with organic matter. Therefore, for sowing seeds, it is recommended to either use special store-bought soil for pumpkin crops or for seedlings with vermicompost, or prepare the soil mixture yourself. To do this, mix garden soil, peat and humus in equal proportions. For loosening, add river sand, perlite or vermiculite, and to normalize acidity and prevent fungal diseases, add wood ash (1.5-2 cups per 10 liters of soil).
Be sure to disinfect the prepared mixture using one of the traditional methods: pour a solution of hydrogen peroxide, heat in the oven at a temperature of 70-90 ° C for half an hour, or simply pour boiling water.
Pre-sowing treatment and sowing of seeds

Often, manufacturers offer seed material that has already been prepared for sowing - treated with fungicides. This information is usually indicated on the package. If you bought exactly these - treated - cucumber seeds, then they need to be embedded in the soil dry, without additional preparation.
If the seeds are not processed by the manufacturer or you "obtained" them from amateur farmers, it is advisable to carry out preliminary processing - disinfect the seeds by dipping them in a pink solution of potassium permanganate for 20 minutes. Then rinse the seeds under running water, wrap them in a damp cloth or gauze or place them between two cotton pads and keep them in a warm place for 2-3 days. Monitor the humidity of the fabric by spraying it from a spray bottle, and in a couple of days you will see sprouts hatching. After this, the seeds can be embedded in the soil.
Fill clean containers with soil mixture, moisten it with clean water and start sowing. Immerse the seeds in the soil to a depth of 1.5-2 cm, lightly sprinkle with soil and spray with settled water at room temperature. Then cover the containers with a bag or cling film to create a greenhouse effect and place in a warm place with a temperature of 24-26°C until shoots appear.
Seedling care
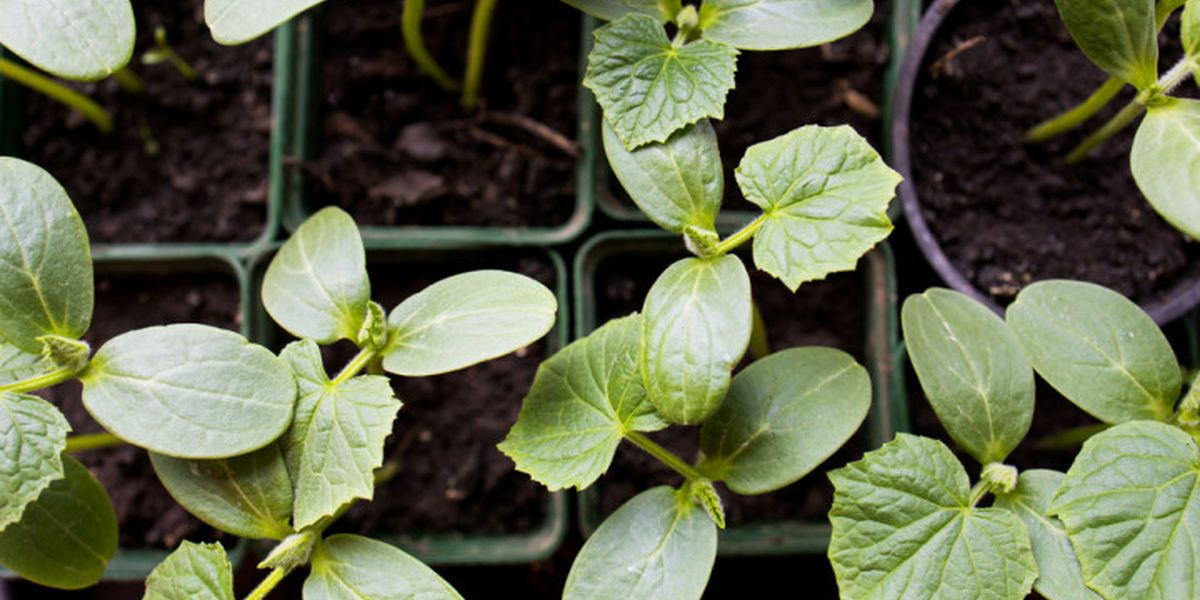
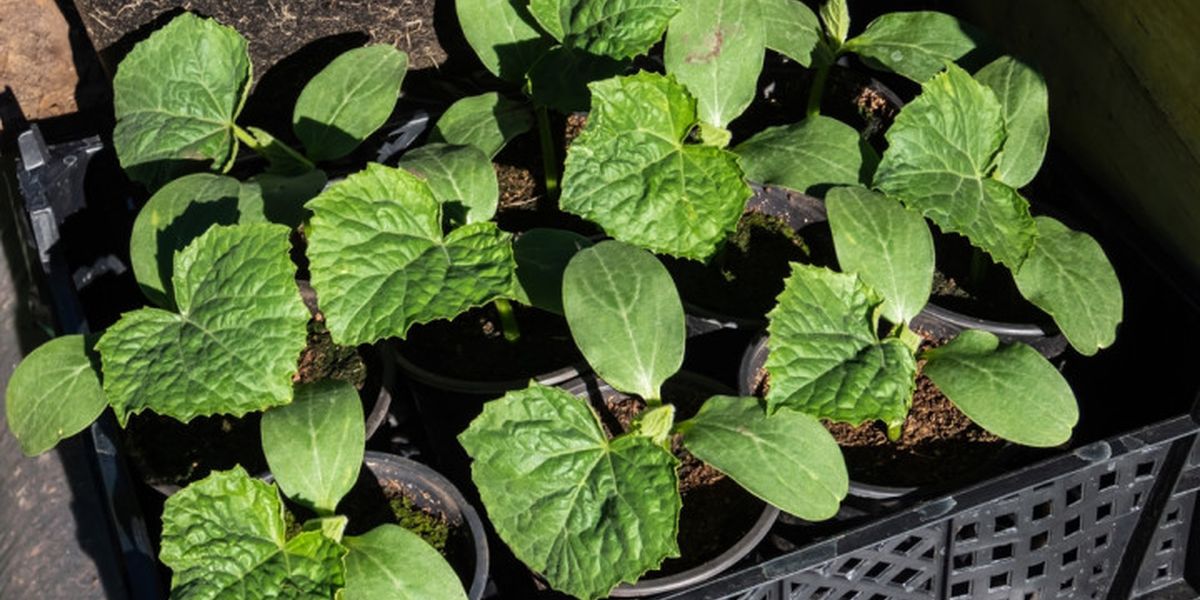
When shoots appear, the cover from the mini-greenhouse should be removed, gradually increasing the ventilation time. Place the containers in a well-lit place, protected from direct sunlight and drafts. Water at first with a bulb syringe or syringe, carefully applying water to the roots.
To prevent seedlings from stretching, it is recommended to harden them - for this, after the cotyledon leaves open, the temperature is lowered to 18-20 ° C during the day and 15-17 ° C at night. The seedlings are kept in this mode for a week, after which the temperature is again raised to a comfortable one (20-23 ° C during the day, 18-20 ° C at night).
Make sure that the root system of the seedlings does not get too cold, as this can lead to the development of root rot. Monitor the temperature on the windowsill or rack with a thermometer.
Pay attention to the lighting. The seedlings should receive 16-18 hours of light per day, therefore, if there is a lack of natural light, it is recommended to use phytolamps, placing them at a height of at least 15-20 cm above the plants to protect delicate leaves from burns.

Start feeding the seedlings two weeks after the emergence of shoots or after the first true leaf has opened. A complex liquid organomineral fertilizer is suitable for the first feeding.
A week before transplanting into the ground, carry out a second feeding - this time with a fertilizer with an increased rate of phosphorus.
Planting seedlings in the ground
The soil in the greenhouse also needs careful preparation if we want the plants in it to develop quickly and enter the flowering stage as early as possible. Therefore, it is customary to add organic fertilizers (manure, compost or humus) during digging in advance, in the fall, or sow green manure in the vacated beds.
If these procedures have not been performed, then in the spring, when preparing the beds, you should add mature compost, humus or vermicompost, ash for deoxidation, and mineral fertilizer containing a full range of macro- and microelements to the soil.
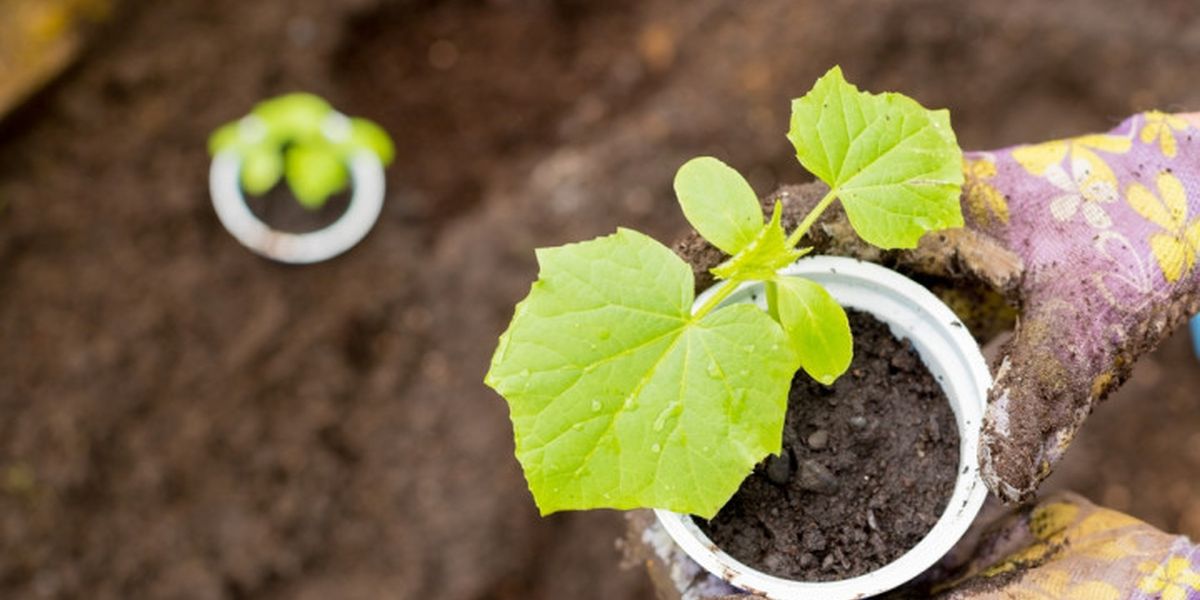
A week or two before transferring to the greenhouse, the seedlings need to be hardened - prepared plants cope more easily with stress after transplantation, take root faster and are less likely to get sick. Take the seedlings out onto the balcony or into the greenhouse, gradually adapting them to changes in temperature and lighting. Increase the "walk" time every day, and 2-3 days before planting, take the pots out into the greenhouse and leave them overnight, making an additional cover from spunbond.
Cucumbers should be planted in the ground only after the soil at the depth of a bayonet of a shovel warms up to 14-15 ° C. You can speed up the warming up by pouring hot water on the soil in the greenhouse and covering it with film or agrotextile for a couple of days. It is also worth populating the soil with beneficial microflora by pouring solutions of Trichoderma or hay bacillus (Fitosporin-M).
Ideally, you need to plant seedlings in the ground after the end of return frosts, but if you want to get cucumbers as early as possible, you will have to take a risk. But be sure to install arcs and prepare covering material to additionally protect the seedlings in case of cold nights. You can also install a heater.
Watering and fertilizing cucumbers after planting
As they continue to grow, you need to continue feeding the cucumbers throughout the entire development period at intervals of 2-3 weeks. It is recommended to use both organic and mineral fertilizers, alternating them. Organic fertilizers usually include vermicompost and weed infusions (1 liter of concentrate per 10 liters of water). Recommended mineral fertilizers include Agricola for cucumbers, Fertika Lux.
During cold weather, it is recommended to use foliar fertilizers, since the roots absorb nutrients from cold soil worse.
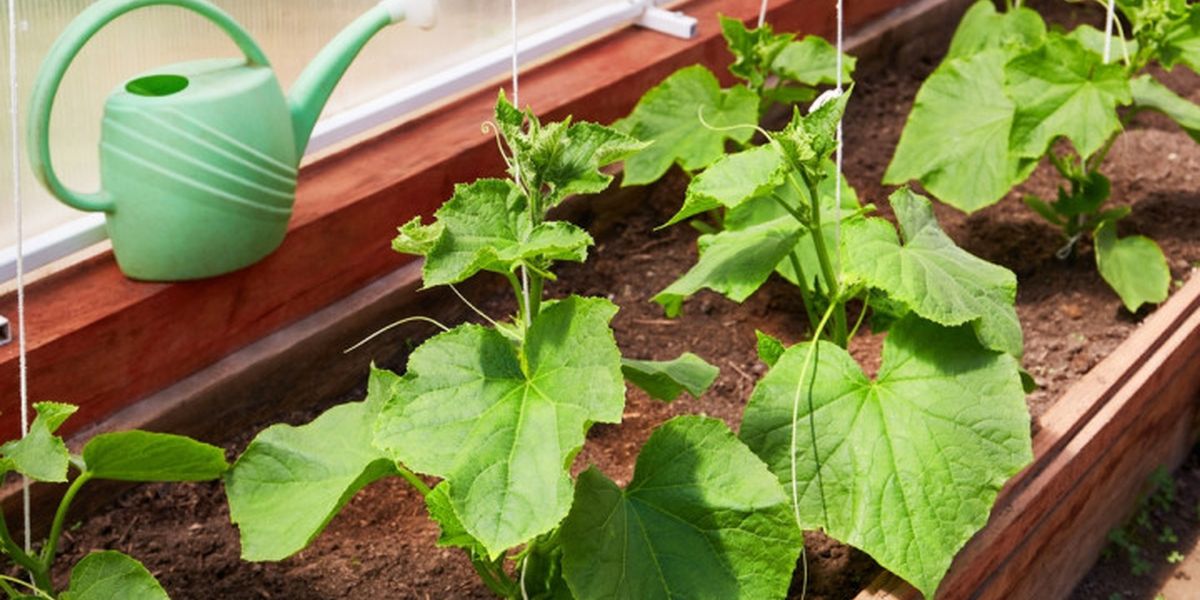
Plantings should be watered regularly and abundantly, moistening the soil to a depth of at least 20 cm. In hot and dry weather, watering is carried out every 2-3 days, in cool and cloudy weather - reduce to 1-2 times a week. To maintain soil moisture, it is useful to mulch the soil with straw or mown grass.
Formation of cucumber bushes
Correct formation of vines and their tying to supports is of great importance for active fruiting and health of the bushes - in the limited space of the greenhouse, these two procedures cannot be ignored.
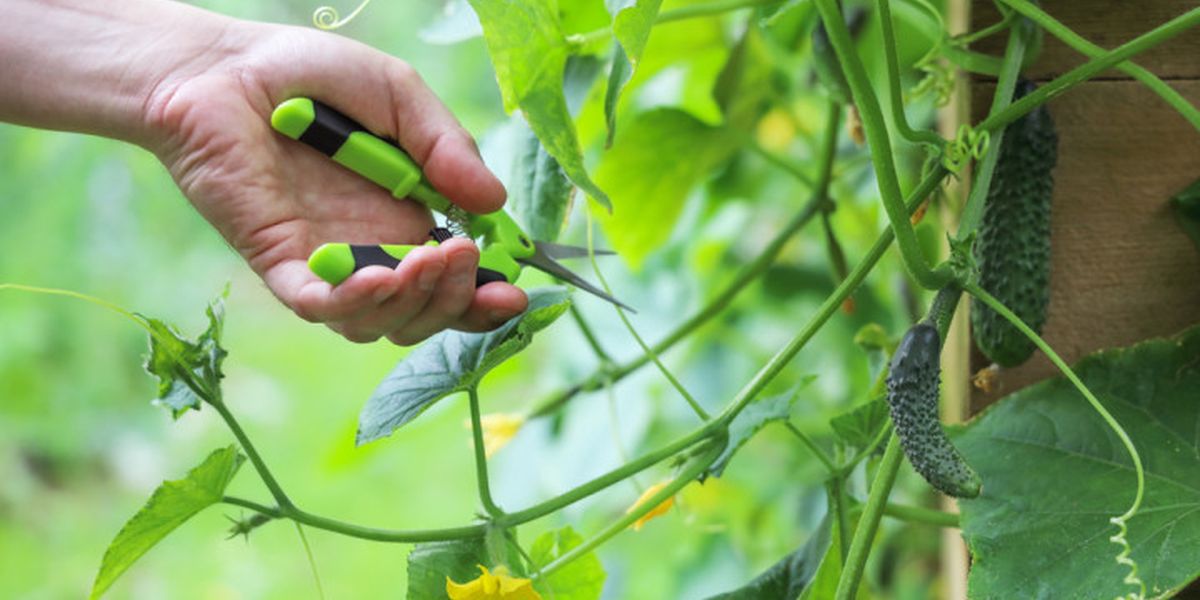
During growth, parthenocarpic cucumbers are formed differently than plants of traditional bee-pollinated varieties. The main stem is pinched only after it is level or outgrows the trellis (usually this is a height of about 2 m). Lateral shoots are shortened, leaving a length of about 25 cm at the bottom, 35-40 cm in the middle part and 45-50 cm at the top of the bush.
To improve air circulation and prevent possible diseases, shoots and flowers are removed from the lower part of the cucumber vines (in the axils of the first five leaves). After the bushes begin to bear fruit, it is recommended to install strong supports that can withstand the weight of the stems with ripening fruits.
Welcoming the summer with a fresh harvest of cucumbers is not an easy task, but it is all the more interesting for an enthusiastic gardener to implement it.