Six rules for successful seed stratification, following which you can effectively prepare them for sowing.
Plants have fruits, and therefore seeds. In the fall, during the rains, they fall to the ground. It would seem that fallen seeds should germinate, as the conditions are suitable. But that’s not the case - they will remain there until spring. And only then will some of them (those that end up in the soil layer) sprout.

This is how nature ensures plant reproduction in our harsh climate with frosty winters. If seedlings start sprouting in the fall, they will inevitably freeze and die. Therefore, seeds contain substances that have been specially developed over many years of evolution to prevent premature germination.
A thick shell also serves as protection. And only over the long winter months, while being exposed to moisture and cold, do the seeds rid themselves of these substances, the shell loses its strength, and in the spring, the seed germinates.
Essentially, this is natural stratification. It is important to understand that such exposure to cold and moisture is generally required for seeds from temperate zones with frosty winters. Tropical plants do not have this protection against early sprouting. And they don’t need it - it stays warm there in winter, so they can germinate freely!
Stratification at home is a process that mimics natural stratification. For it to be successful, you need to follow certain rules.

Learn about the specifics of seed stratification for each plant
Before sowing certain seeds, you should ensure that you have reliable information. Do they require stratification to germinate? And if so, what type and for how long? The duration and requirements vary for different species. For example, tulip tree seeds (Liriodendron) require a year and a half (!) to germinate, imitating winter-summer-winter cycles, while lavender seeds need only one month at a low temperature. I advise you to always read recommendations for each specific plant.

Stratify "common" plants in open ground, exotic plants - in a basement or refrigerator
Seeds of common local plants (which you can collect in large quantities) can be safely sown in open ground before winter, after preparing the beds and marking the sowing sites with special markers or simply sticking in plastic spoons or knives.
If you have a small number of seeds and they belong to rare plants, then stratification should be done more carefully. Sow them in containers or seed trays and place them in conditions mimicking the natural environment (a refrigerator or basement with temperatures close to zero). Above +4°C is unfavorable, and slight freezing is acceptable.

Prepare the stratification substrate correctly
Stratification should be conducted in sterile soil mixes or substrates. Mold and fungal diseases, as well as pests, can ruin months of effort. In principle, any option will work, but it is more convenient to stratify small seeds in a mixture of peat and sand (with sterilized garden soil, if needed), while large seeds can be stratified in sphagnum moss, peat, or a peat-sand mixture.
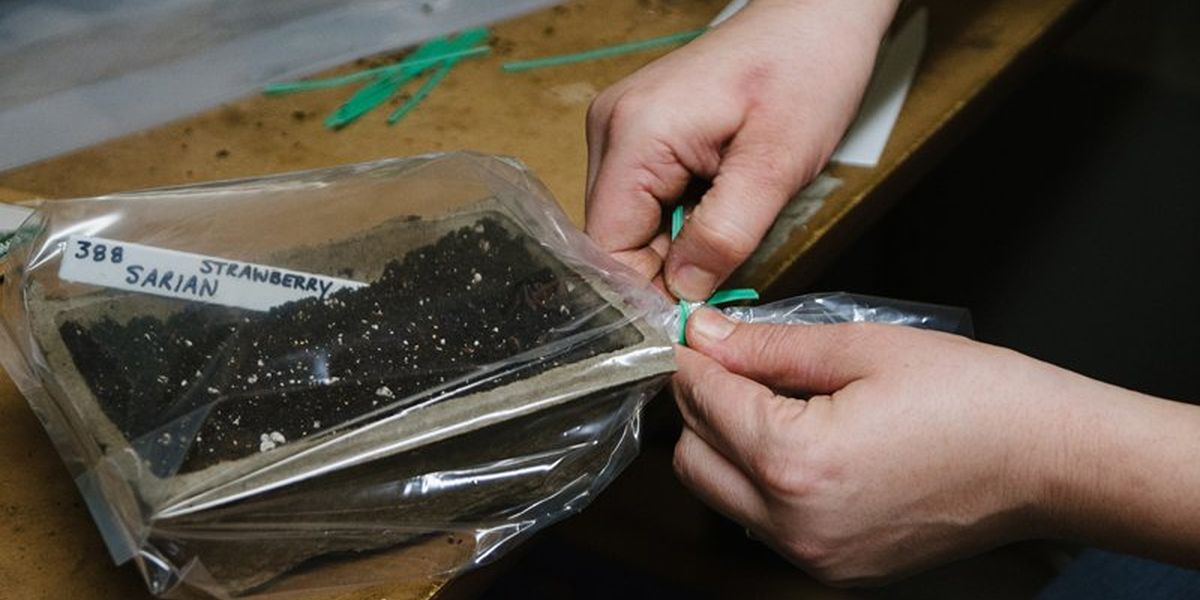
Ready-made store-bought soil for plants is also suitable for home stratification and usually does not require additional treatment. Some gardeners who stratify a large number of seeds at once to save space in the refrigerator do not immediately sow the seeds but instead place them in polyethylene bags with moist vermiculite, moss, or even damp paper napkins. After the required period, they sow them in trays or containers.
However, this method is best for large seeds that are easy to find in such substrates. And remember that while saving space is important, the substrate should be three times the volume of the seeds.

Ensure high humidity of the soil and air
Before placing the seeds in the substrate, it is better to soak them in water for a couple of days - this speeds up the activation of internal chemical processes. Then, throughout the entire period, it is necessary to maintain high soil and air humidity. Therefore, containers with seeds should be placed in a polyethylene bag or in a purchased mini-greenhouse for seedlings. If drying occurs, the seeds should be sprayed with water from a spray bottle. Soft, filtered water is preferable, and melted snow is even better.
Constant monitoring!
Check stratified seeds regularly, about once every two weeks. This is why refrigerators and basements are convenient for this process. Open polyethylene bags, lift lids on mini-greenhouses, and inspect seeds for mold. If mold appears, wash large seeds, and treat sown seeds with fungicides (a diluted hydrogen peroxide solution will work).

Sow germinated seeds in time
Once the seeds begin to germinate, sow them in a soil substrate immediately and place them in a warm location. If a seed has already developed a long sprout, handle it carefully to avoid breaking it. If broken, the future plant will die. When the first sprouts appear, containers should be placed on a well-lit windowsill and supplemented with special phytolamps (as winter days are too short).
As you can see, there is nothing complicated or frightening about home seed stratification. All that is required is attentiveness, precision, and patience.