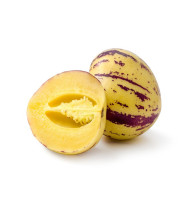
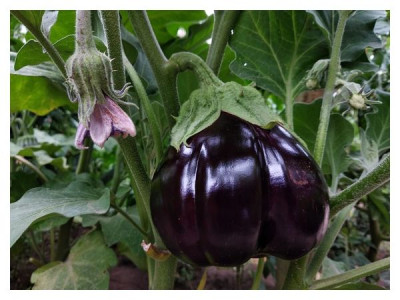
Pepino, kiwano, melothria... No, this is not an abstract set of sounds! These are very real vegetables that can be grown on your own plot. Of course, you will have to run around looking for seeds, but the whole winter is ahead, so there are chances.
You may have already come across some of these crops in stores or when traveling to other countries, but rarely does anyone grow them in their dacha. Some people simply don’t know about these vegetables, some believe that they are too capricious, others don’t see the point. But if you love new tastes and are open to experimentation, choose a couple of varieties and try to make them inhabitants of your beds. You are definitely guaranteed to surprise your neighbors, and maybe even a new green “favorite”.
Artichoke
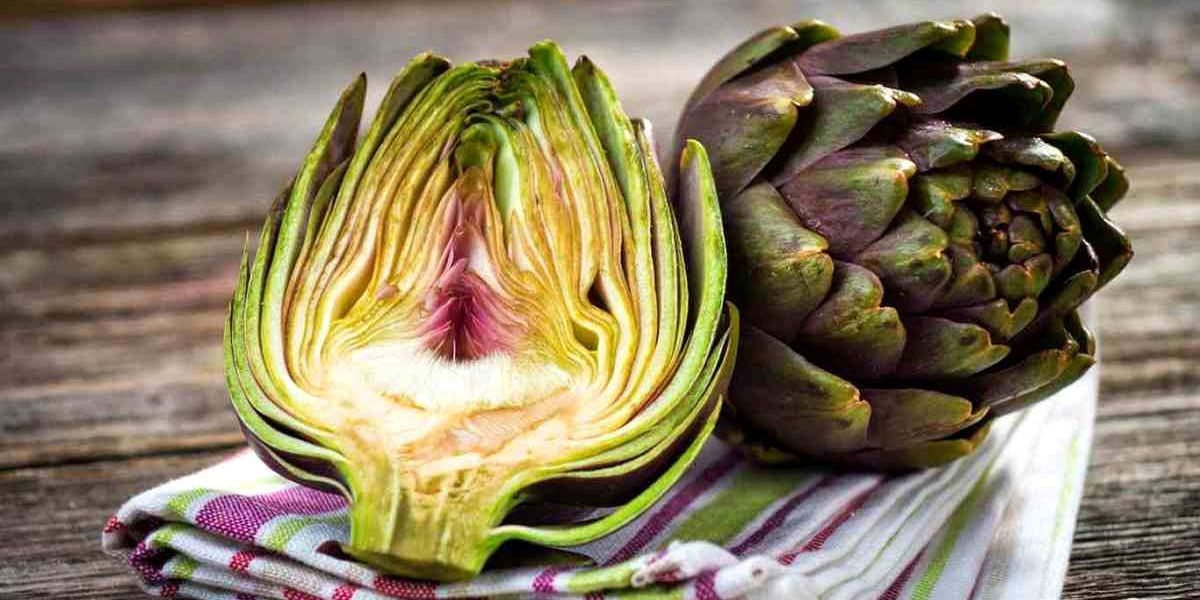
In Europe, the artichoke is considered a delicacy; it is cultivated by many farmers, and you can buy seeds or the plants themselves almost everywhere. This is more difficult for us - inexperienced summer residents can easily confuse it with an overgrown thistle. However, those who have tried the artichoke often try to grow this capricious and heat-loving crop.
How to grow an artichoke
To grow an artichoke in the middle zone and get an acceptable harvest, you will have to try a lot. Artichoke seeds are sown for seedlings 50-60 days before planting in the ground, that is, at the end of March. Before sowing, they are soaked in warm water overnight, then germinated in a warm place and put in the refrigerator for three weeks. Sprouted seeds are planted in separate containers with a mixture of sand, turf soil and humus in a 1:1:1 ratio.
The seedlings should be kept warm (20-25°C) and in the light until the first true leaf appears, and then transferred to cooler conditions (12-15°C). Strong seedlings with 3-4 true leaves are planted in a permanent place in late May - early June, after the threat of return frosts has passed.
Artichoke beds are prepared in the fall by adding double superphosphate (50 g per 1 sq.m.), ash (1 cup per 1 sq.m.) and humus (2 buckets per 1 sq.m.) to the ground. Plants are planted at a distance of 45 cm from each other and 80 cm between rows. Choose the sunniest place, protected from the wind.
From the moment of planting until the buds appear, the artichoke should be watered frequently and abundantly, then watering should be reduced. Throughout the growing period, the row spacing should be loose and free of weeds. Twice a month, artichokes are watered with a 10% solution of mullein or nettle infusion. To keep the inflorescences large, leave no more than 3-4 peduncles per bush. Artichokes are not allowed to bloom, because after this their flowers become unsuitable for consumption.
The ovaries are collected when the upper scales begin to open. They are cut off along with part of the stem and stored in the refrigerator for no more than 3-4 weeks.
How to cook an artichoke
Artichokes eat unopened flowers, and the core and outer leaves are removed before consumption. Most often they are boiled with lemon juice or baked with spices and olive oil. Artichokes are rich in sodium, potassium, calcium, phosphorus, iron, vitamins A, B1, B2, C, PP, so they will be an excellent addition to meat, salads and hot dishes. And the broth remaining after cooking them can be used as an addition to sauces or soups.
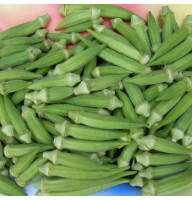
Okra
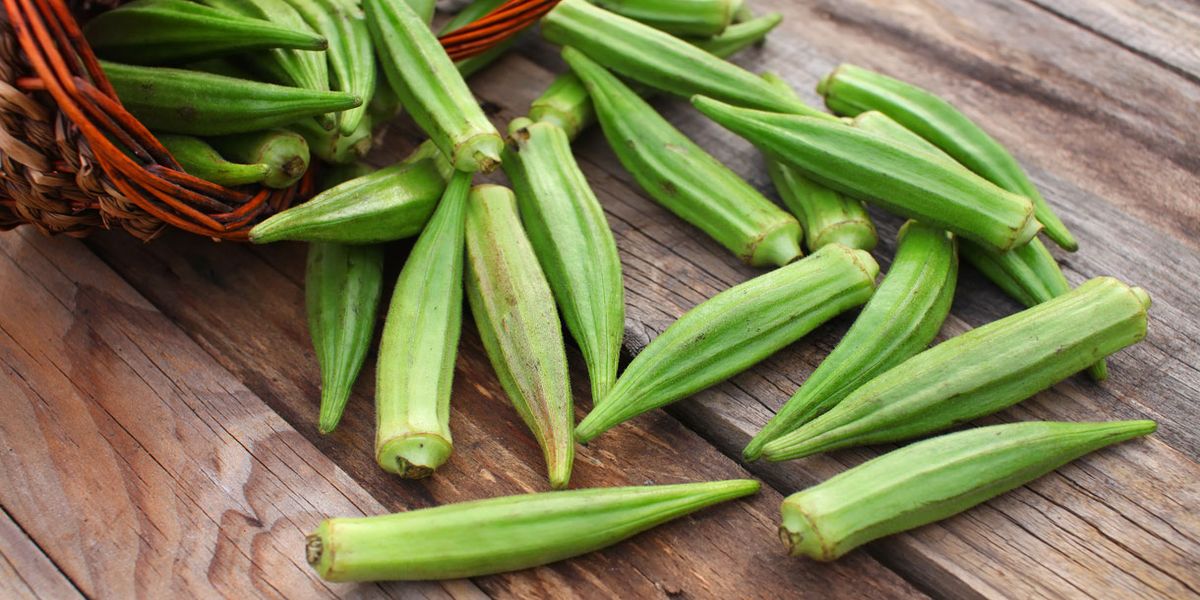
Okra came to Europe from Africa, where it was used in cooking and cosmetology for centuries. People value it for its unripe fruits, similar to small peppercorns. Okra is rich in folic acid, iron, calcium and vitamins. In addition, it contains a lot of fiber, and therefore is useful for the gastrointestinal tract. Okra is usually grown in southern regions because it is heat-loving. In addition, her plants reach 2 m in height, so they simply do not fit in a greenhouse. However, if you wish, you can experiment with melons in the middle zone.
How to grow okra
Okra can only be grown under film cover. At the same time, it is important to know that it has a taproot system, so the crop tolerates transplanting extremely poorly - containers for seedlings must be very voluminous.
Seeds for seedlings are sown 45 days before planting in the ground, that is, in mid-April, and sent to a permanent place under film cover in late spring or early summer. Okra should be planted at a distance of 30-40 cm from each other and 60-70 cm between rows. Humus is added to the soil before planting (1 bucket per 1 sq.m.).
The air temperature in the okra shelter should be between 20 and 30°C.
Plants need to be regularly watered and fed with complex mineral fertilizer, for example, nitrophoska (2 tablespoons per bucket of water every 2 weeks), and during the fruiting period also with potassium nitrate (in the same proportions).
Early ripening varieties of okra bloom 2 months after germination, and after a few days they bear the first fruits. Fruiting continues until frost, and adult bushes can tolerate zero temperatures, only reducing the number of ovaries. You need to pick okra every 2-3 days, and in the south of the country every day, otherwise the fruits will overgrow and become inedible.
How to cook okra
Unripe pods of okra are eaten, and only those that are no more than 5 days old. A drink similar to coffee is prepared from ripe beans, but in the middle zone it is very difficult to achieve ripening. Okra is boiled in salted water until soft, added to salads, soups, and sauces are prepared based on it. Its young grains resemble green peas in taste and appearance and can replace them in salads.
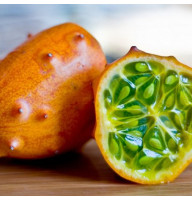
Kiwano
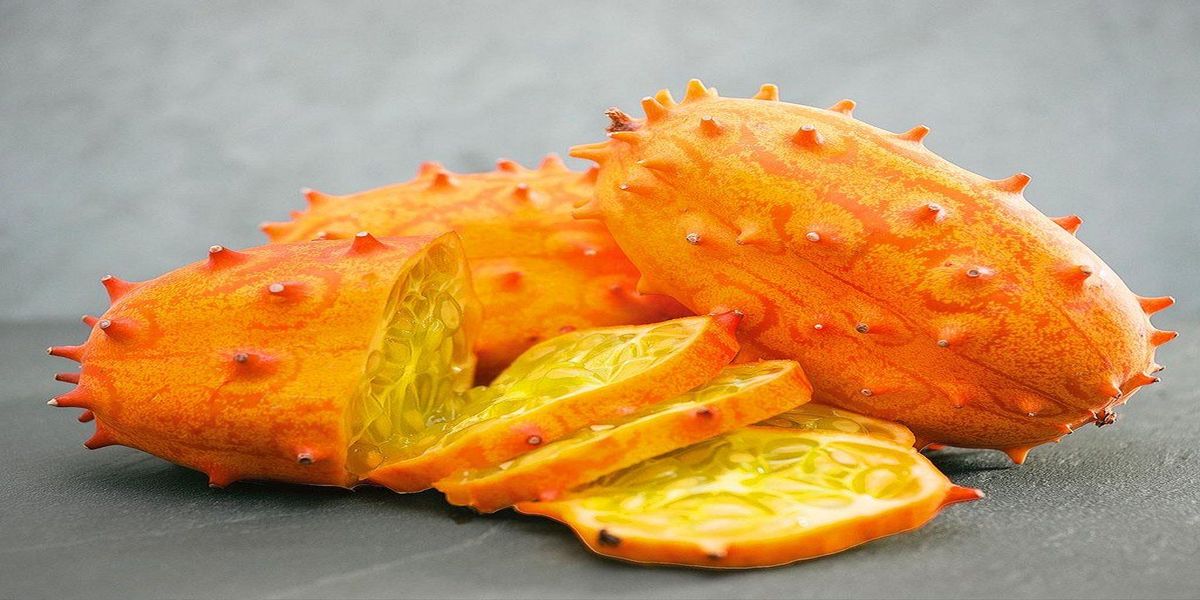
Another African exotic, also known as horned melon, is a herbaceous vine of the Cucurbitaceae family and a relative of the familiar cucumber. Kiwano is grown for its juicy orange fruits, which can be consumed both fresh and after heat treatment.
Kiwano, like most plants from our selection, does not tolerate cold weather. You can grow it in the middle zone in greenhouses or greenhouses, but keep in mind that the length of the vine reaches 3 m, so it needs to be tied to a support.
How to grow kiwano
Kiwano is sown for seedlings in the second half of April, after soaking it for a day so that the seed skin becomes soft. After this, they are laid out in containers with the prepared soil mixture, buried 3 cm, watered and covered with a lid, cling film or bag. Open the containers immediately after the seeds sprout.
When the average daily temperature reaches 12-15°C, kiwano can be planted in the ground. A greenhouse and an open ridge in a sunny area protected from the wind will suit him. It must be remembered that the kiwano is a vine, and it needs a support around which the whip will be twisted.
In greenhouse conditions, about 40 cm should be left between plants and rows; in open ground, plants can be planted in 1 row, for example, along a fence, at a distance of 50-70 cm from each other. In order for the vine to form correctly, the plants must be immediately tied to a support.
Kiwano is watered with warm water 2-3 times a week, fed every 10 days, alternating organic matter (infusion of mullein, grass or chicken droppings) with complex mineral fertilizers, for example, Kemira Universal at the rate of 50 g per 10 liters of water. If there are too many side shoots, they are pinched off and the male flowers are simply removed. The ovaries need to be collected from the kiwano every 5-7 days so that new ones appear more quickly.
How to cook Kiwano
Since the taste of kiwano is quite complex, it is used in both sweet and savory dishes. Young kiwano ovaries are pickled like gherkins, and ripe fruits are added to salads, milk and fruit cocktails, compotes, and jams. Before eating the pulp, you need to cut the kiwano lengthwise and free it from the grains (they are inedible). The peel of the fruit contains a large amount of fiber, but has a strong sour smell and pungent taste, so not everyone will like it.
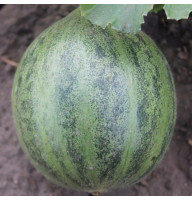
Melothria
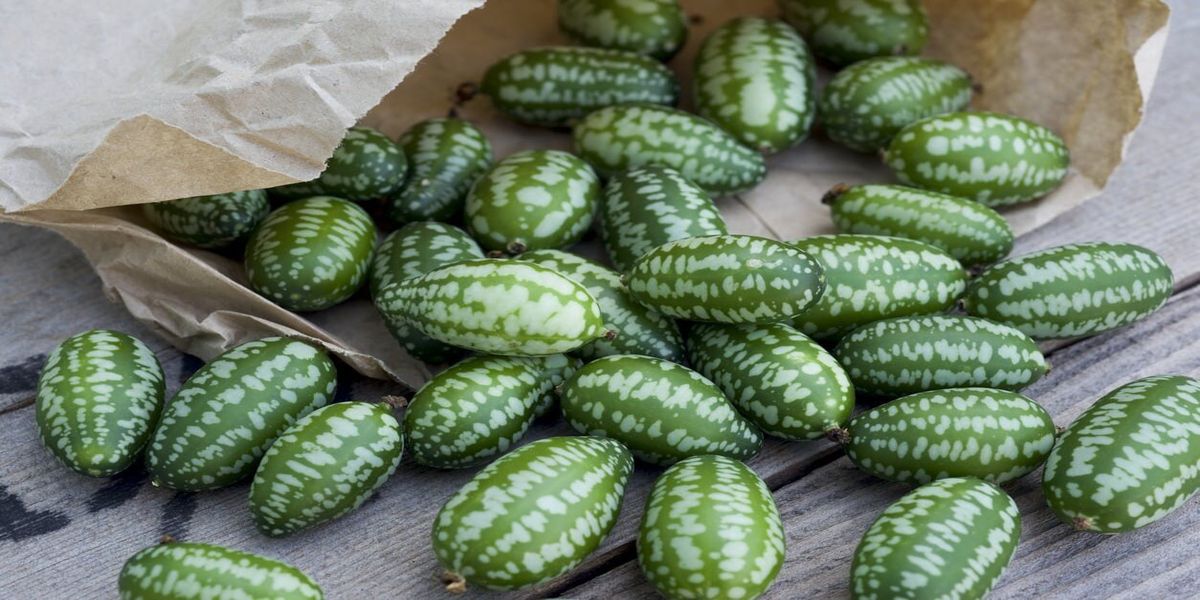
Melothria rough is very similar to a cucumber in its leaves, fruits, flowers, and even taste. But only for a very tiny cucumber, whose mature fruits reach only 2 cm in length. In addition, their skin is not an even green color, but marbled, in shades of watermelon rind.
Melothria is grown as an ornamental fast-growing vine or for its fruits, which children like. The liana blooms and bears fruit from June until frost, so it is an excellent option for vertical gardening.
How to grow melothria
Melothria can be sown for seedlings in early April in order to ripen after the formation of the third true leaf, or it can be sown directly into the ground at the same time as cucumbers. Its seeds are very small, so they are not sprinkled with earth, but covered with film or glass on top until shoots appear. In mid-May, the melothria is sent to its permanent place of residence, keeping covering material ready in case of return frosts.
Melothria can be grown in boxes on the balcony.
In the future, caring for melothria depends on what you want to achieve from the bush - lush greenery or abundant fruits. If the former, feed the plant every 2-3 weeks with an infusion of mullein or chicken droppings, but if the latter, give preference to phosphorus-potassium fertilizers. Melothria should be watered as the soil dries out, and the fruits should be collected every 2-3 days. You will have to remove weeds from the ridge only in the first few weeks, then it will successfully choke them out itself.
How to cook melothria
Melothria is eaten like a regular cucumber - fresh or pickled. Fresh fruits are cut into salads, and canned ones are served either individually or in combination with other vegetables. Since melothria tastes slightly sour than cucumber, this can be noticeable in preserves.
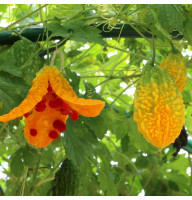
Momordica
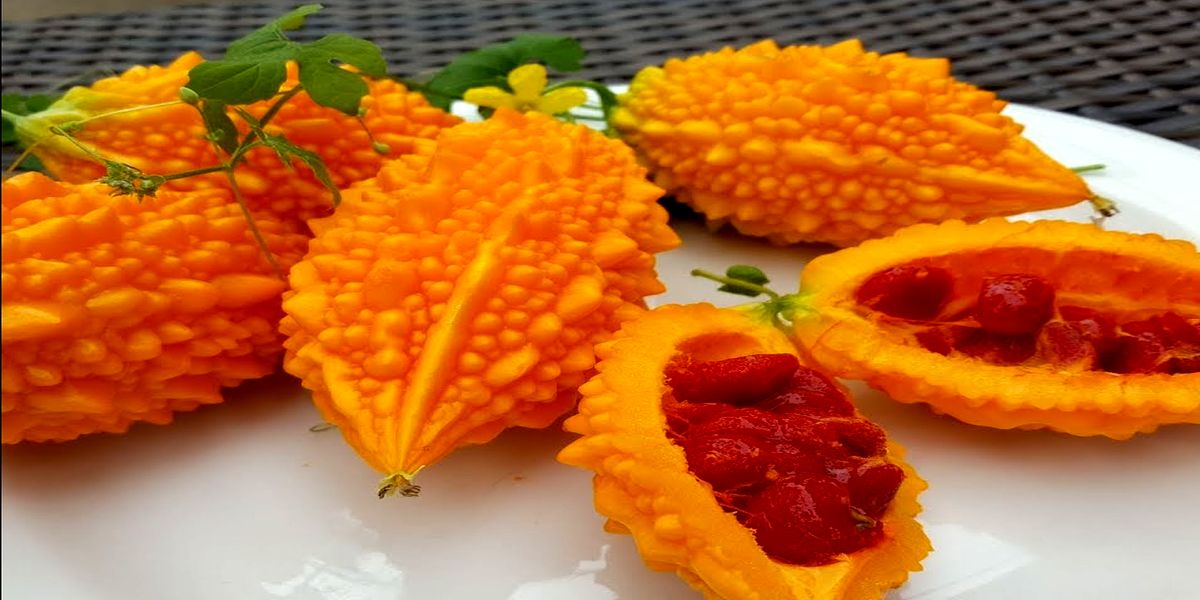
This vine, which goes by many names (crocodile cucumber, crazy melon, Indian pomegranate), all parts are edible. It grows on a balcony, in a greenhouse, in open ground or in tall containers and can become both a decorative and edible feature of the site. Momordica is very rich in vitamins E and F and is used in dietary nutrition.
How to grow momordica
Momordica prefers sunny areas, as well as loose, organic-rich soil. It is better to prepare the ridge for it in the fall, filling the soil with humus and ash. In the middle zone, momordica is grown through seedlings, like other pumpkin plants, and planted in the ground in mid-May. Like other vines, momordica needs support and tying. At the same time, it does not grow to the sides, so there is no need to pinch it or limit the roots.
Water the momordica abundantly, 2-3 times a week, and feed it with herbal infusion or mullein solution every 14-16 days. Although momordica does not suffer from pests and most diseases, it is still advisable to pull out weeds next to it and loosen the soil between the rows.
Momordica dies at zero temperature, and at 15°C it slows down in growth and reduces fruiting, so you should be prepared for the sudden death of the plant.
How to cook momordica
Momordica can be eaten both fresh and heat-treated. When ripe, it resembles both a watermelon and a persimmon, and the closer to the core, the sweeter and more aromatic the pulp. But it is better to cook green fruits, for example, stew or bake, like zucchini and pumpkin. By the way, young shoots and leaves of momordica are also edible - they can be added to salads or soups.
Cucumber melon
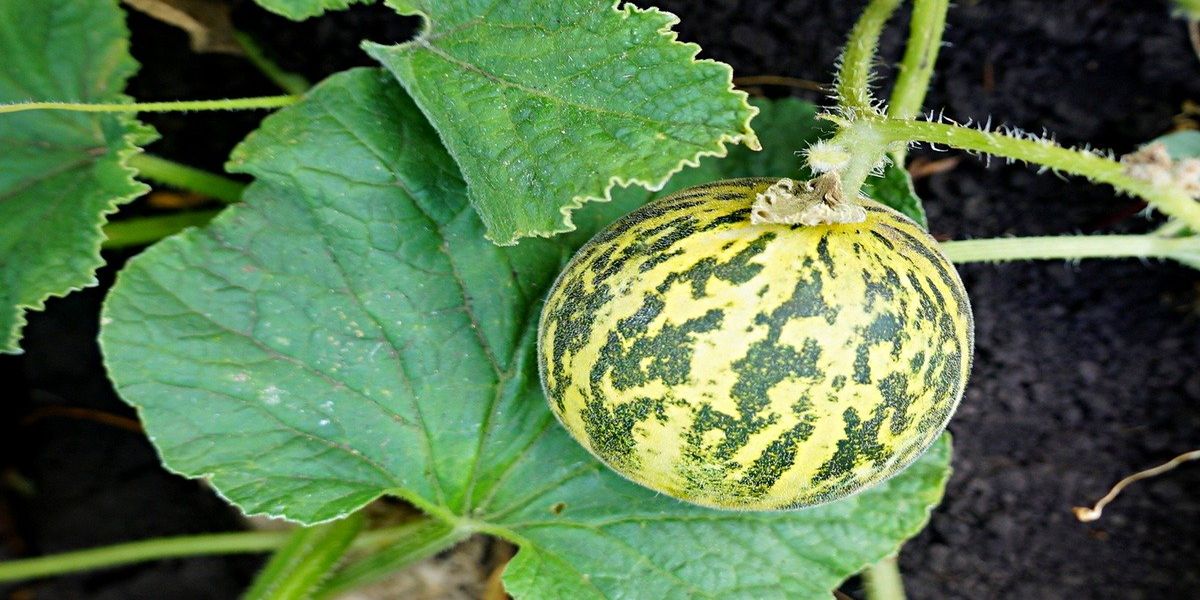
Vegetable or fruit - with cucumber melon you can’t immediately tell. They grow it like a melon, but in the process the fruits are too reminiscent of cucumbers, and the care is similar. This crop is grown not only for its exotic nature, but also for its high level of vitamins and microelements.
How to grow cucumber melon
The beds for cucumber melon are prepared in the fall, adding 25 g of superphosphate, 12 g of potassium sulfate, 15 g of ammonium nitrate and half a bucket of humus per 1 sq.m. Choose a sunny place protected from the wind for it. The main advantage of cucumber melon is that it will grow both in a greenhouse and in open ground, although in the second case the harvest will be smaller.
Seeds are sown in open ground at the end of May, and seedlings are sown a month earlier. For the first couple of weeks, young plants need to be covered with agrofibre at night, and then kept on hand in case of sudden cold snaps. Cucumber melon can be grown either spread out on the ground or on a trellis, but as it grows, its fruits become heavy and require supports.
I form a cucumber melon like this: the central shoot is pinched after the fifth leaf, the side shoots after the eighth. Leave 2-3 fruits on each vine, otherwise you will end up with a lot of small and unripe cucumber melons.
Water the cucumber melon plant once a week with warm water, but you need to loosen and weed it very carefully, since the roots are located right at the surface. Once every 2 weeks, the cucumbers are fed with a 10% solution of mullein, and after flowering they are covered with a bird net.
How to cook cucumber melon
The preparation of cucumber melon depends on the stage of ripeness of the fruit. Green cucumber melons, that is, unripe cucumber melons that have gained size, are eaten like ordinary cucumber melons, that is, they are eaten fresh, salted, and pickled. But ripe, yellowed cucumber melons magically turn into a sweet and aromatic fruit and can then be either eaten fresh or used in compotes, jams, preserves and pie fillings.
Pepino
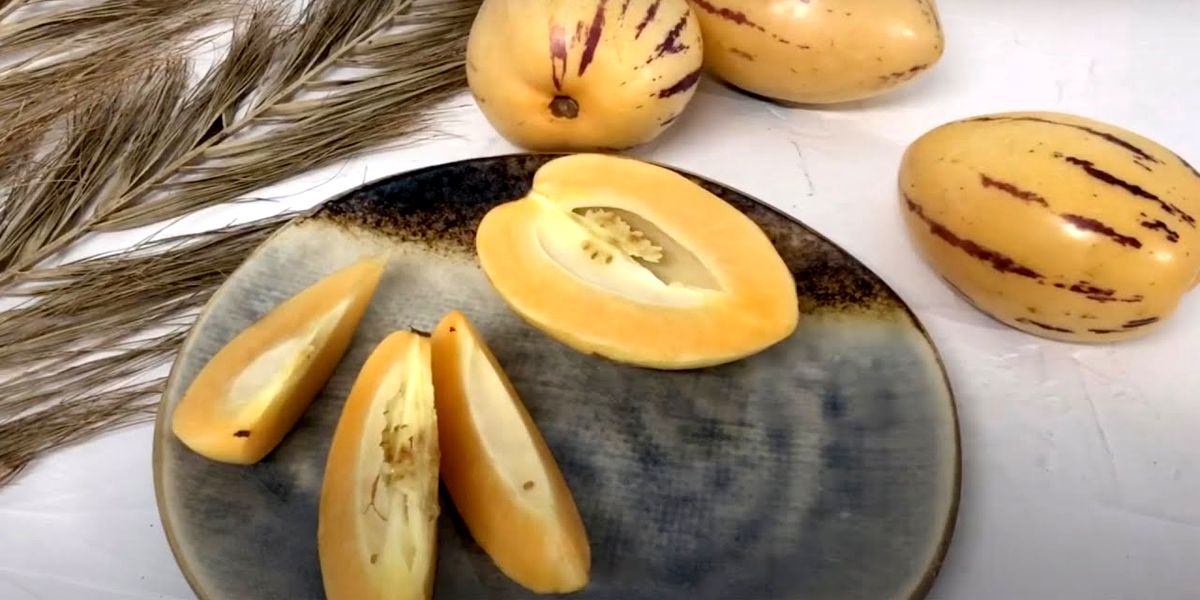
Although pepino is often called a melon pear, it has nothing to do with real melons, but belongs to the nightshade family, that is, it is a relative of tomatoes. In its homeland, pepino is a perennial, but in our conditions it has to be grown anew every year. However, mother plants are stored in the basement or apartment, and in the spring they can go back into the ground and produce a second crop or become the basis for cuttings.
How to grow pepino
Pepino can be propagated by seeds and cuttings. Seeds are sown at the end of January in a loose soil mixture and covered with glass. After a week, shoots appear, and after the formation of 3 true pepino leaves, you can dive. Pepino is planted in the ground in early or mid-May, having previously added 5-7 kg of compost and 2 cups of ash per 1 sq.m to the bed and loosened the soil. You need to leave a distance of 40-50 cm between the seedlings, immediately after planting, water them generously and mulch them, and then water them every 3 days. Over the ridge with pepino, you need to stretch agrofibre or film on the arcs to protect them from frost.
After 2-3 weeks, the seedlings will get stronger, the shelter can be removed and the turn will come to install trellises about a meter high. Pepino must be tied up, otherwise the plants will die and will not bear fruit. In addition, like tomatoes, they need to be formed, preferably into 2-3 stems, and all stepsons must be mercilessly removed, and this must be done every week.
Caring for pepino is the same as caring for tomatoes. It comes down to watering, loosening the rows, weeding and fertilizing. This crop prefers organic matter, and needs it twice a season (after rooting of seedlings and at the time of fruit set). Prepare a solution of mullein (1:10) or bird droppings (1:20) for pepino, and water immediately after fertilizing.
The pests and diseases of pepino are the same as those of tomatoes, so you need to fight them with the same methods and medications.
How to cook pepino
Ripe pepino is eaten fresh, cut in half. Their delicate juicy taste combines melon, pear and banana, and the skin is slightly bitter. Pepino is added to fruit salads and cocktails, and used to make candied fruits. Unripe pepino can be baked or fried, but in this form they are less interesting and more like zucchini.
Fennel
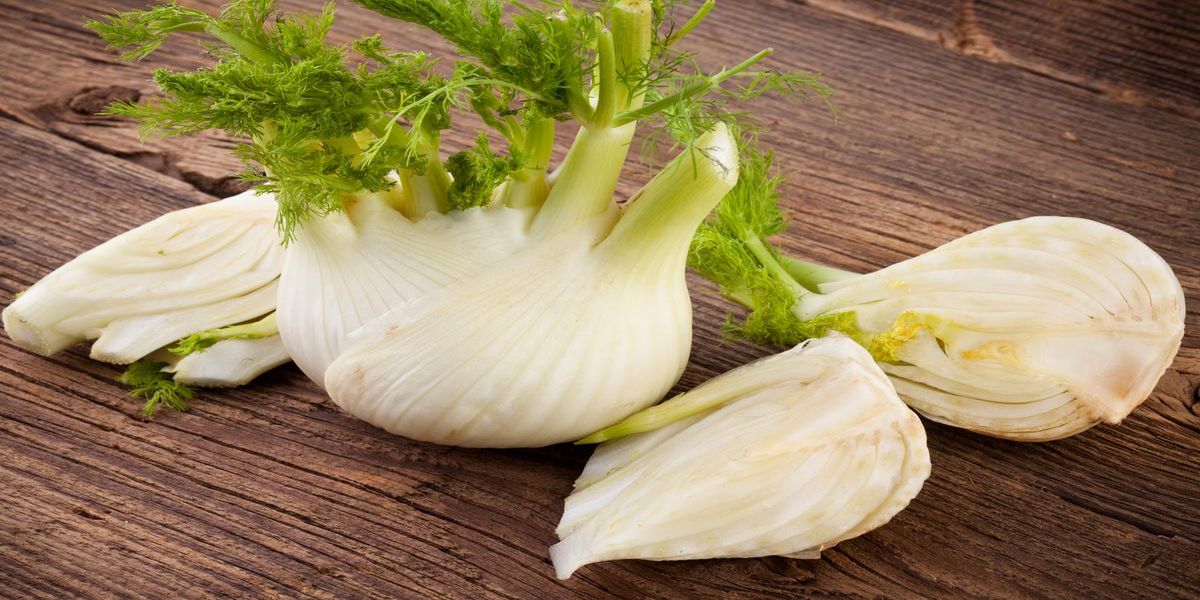
Although fennel is very similar to dill, these crops should not be confused. Fennel produces thick heads at the base that are eaten. In addition, it is an excellent honey plant and medicinal plant.
How to grow fennel
In the middle zone, fennel is best grown through seedlings. Unfortunately, this crop does not tolerate transplants very well, so you need to minimize their number and sow with a reserve.
The seeds are sown in a nutritious soil mixture at the end of April, the seedlings are thinned out, and a week later they are planted in peat pots. Fennel seedlings are sent to a permanent location no earlier than the beginning of June, positioned at a distance of 20 cm between plants and 50 cm between rows.
Immediately after planting, and then every 2-3 days, fennel is watered generously with warm water. Drying out the soil stimulates plants to produce flower stalks, which will make them unsuitable for food. Every 2-3 weeks, the heads of cabbage are hilled up or mulched to make them whiter. They are collected after 2.5 months, when the diameter of the edible part becomes 8-10 cm. You can store fennel in the refrigerator for up to 2 weeks, but it is advisable to wrap it in a bag or cling film.
How to cook fennel
Literally everything about fennel is eaten - the seeds, rich in essential oils, the heads, and the leaves. Fennel greens are valued for their spicy taste and are added to salads and hot dishes. The heads of cabbage are eaten either fresh or stewed, or as an addition to soups and stews. It is no coincidence that fennel is often called pharmaceutical dill; lactogonine teas, a remedy for colic in babies, and antispasmodic decoctions are prepared on its basis.

