Winter garlic is planted in autumn, 3–4 weeks before the soil freezes, so it has time to take root. But prolonged bad weather, sudden frosts, or lack of time can disrupt plans—and you may not manage to plant garlic at the right time. However, don’t despair.
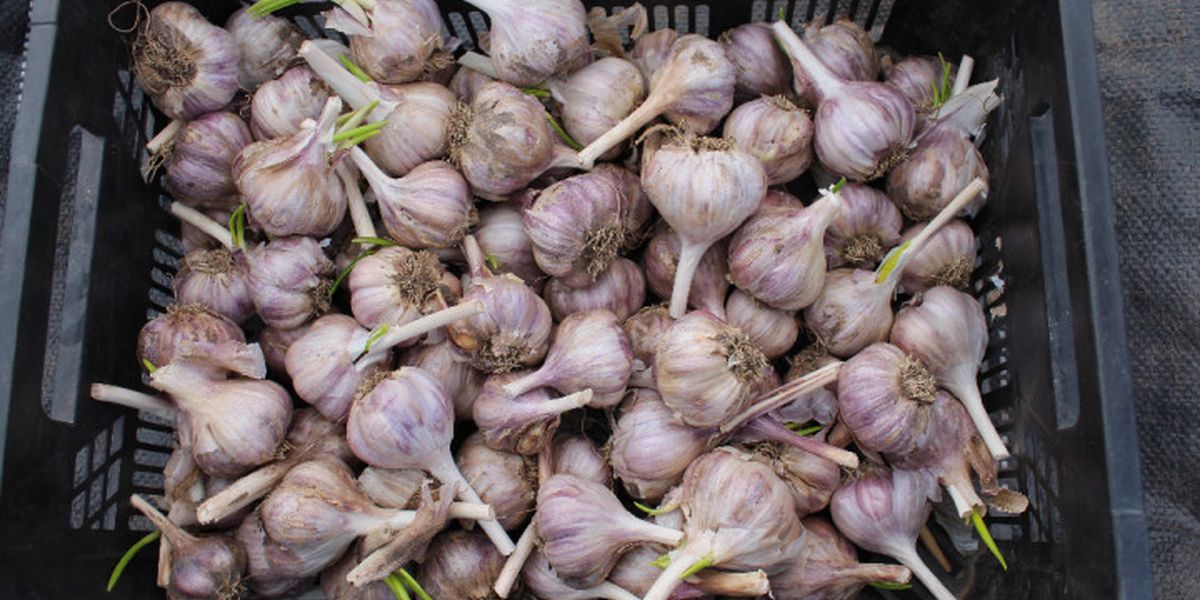
Even if you missed the deadline, you still have a chance to harvest winter garlic next year. It may not be as abundant, and the bulbs may not be as large as with timely planting, but the main thing is that the planting material won’t go to waste and you’ll still have garlic.
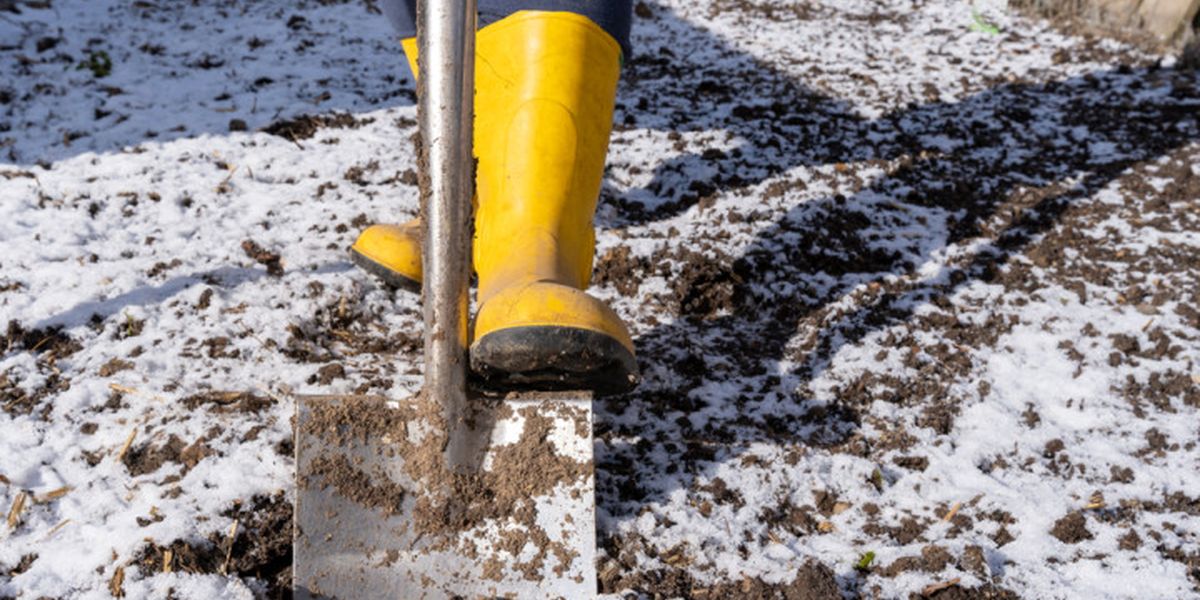
Before taking any action, assess the situation and determine how deeply the soil has frozen: has it frozen only a couple of centimeters due to overnight frost, or have stable cold temperatures already set in and the frost penetrated 10–15 cm deep? Your strategy will depend on this.
Planting winter garlic in late autumn
The most favorable scenario for latecomers is if the soil has frozen shallowly, up to 2–5 cm. In this case, you still have a chance to plant garlic this year, but you need to hurry.
It’s great if you prepared the bed in advance—it will make the task much easier. If not, try to choose a spot where the soil is least frozen. Remember, the best place for garlic is a well-lit area where water doesn’t stagnate in spring. The best predecessors for this crop are legumes, cucumbers, cabbage, beets, carrots, and green manure crops. Avoid planting garlic after garlic, onions, bulb flowers, and nightshades, as they share common diseases.
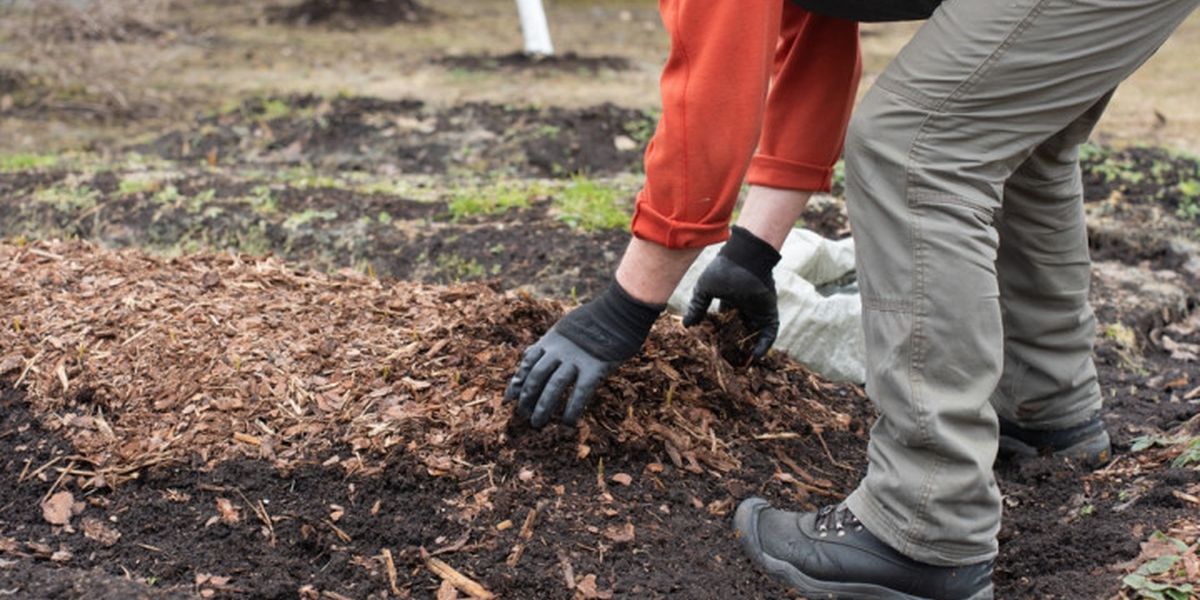
Before starting, remove snow (if it has fallen) and loosen the top (frozen) soil layer. You can pour hot water over the soil to melt the icy crust. If the soil is hard, use a crowbar or shovel.
Then dig the bed to the depth of a shovel blade and add organic matter, such as compost (one bucket per 1 sq.m). Also add potassium-phosphorus fertilizers: 200 g of ash if the soil is acidic, or 40 g of superphosphate and 20 g of potassium sulfate if the pH is above 7 (fertilizer rates are per 1 sq.m). Level the bed and make furrows 25–30 cm apart. Now you can start planting.
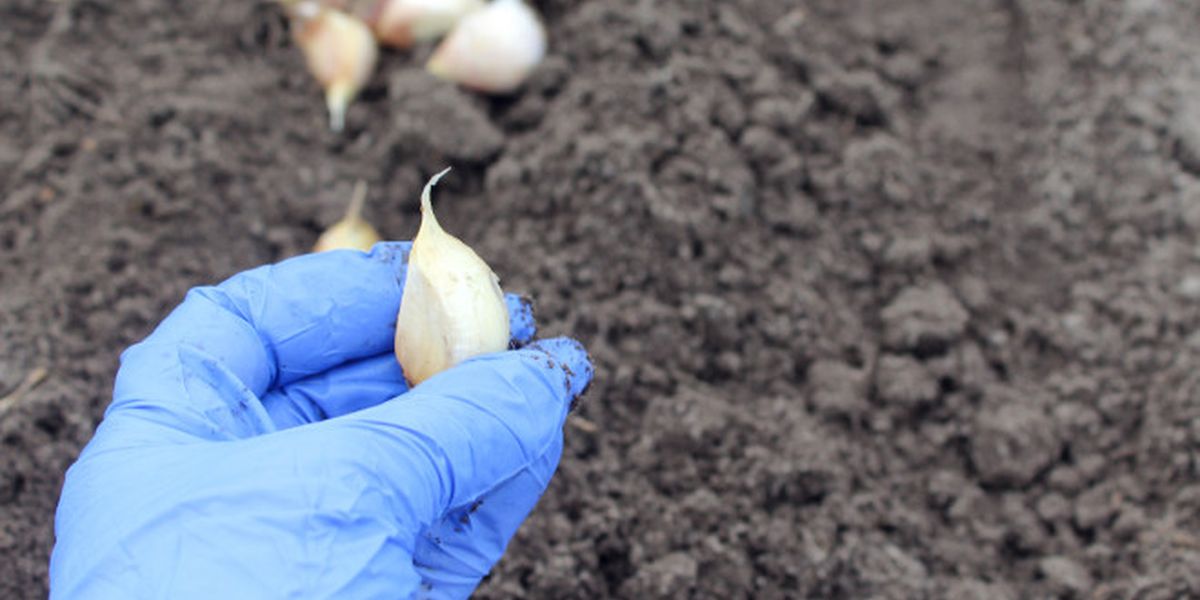
Prepare the planting material. Separate the bulbs into cloves, trying not to damage the protective skin and the base where new roots form. Don’t do this in advance, as the roots may dry out and the cloves will root poorly. Then soak the cloves for 30–60 minutes in a biofungicide solution based on Bacillus subtilis (e.g., Fitosporin-M). Use the same solution to water the furrows before planting. This treatment protects garlic from fungal diseases.
Pay special attention to planting depth. It depends on the size of the cloves. Large cloves are planted about 9–10 cm deep—so that 5–6 cm of soil covers the top of the clove. Leave about 10 cm between cloves.
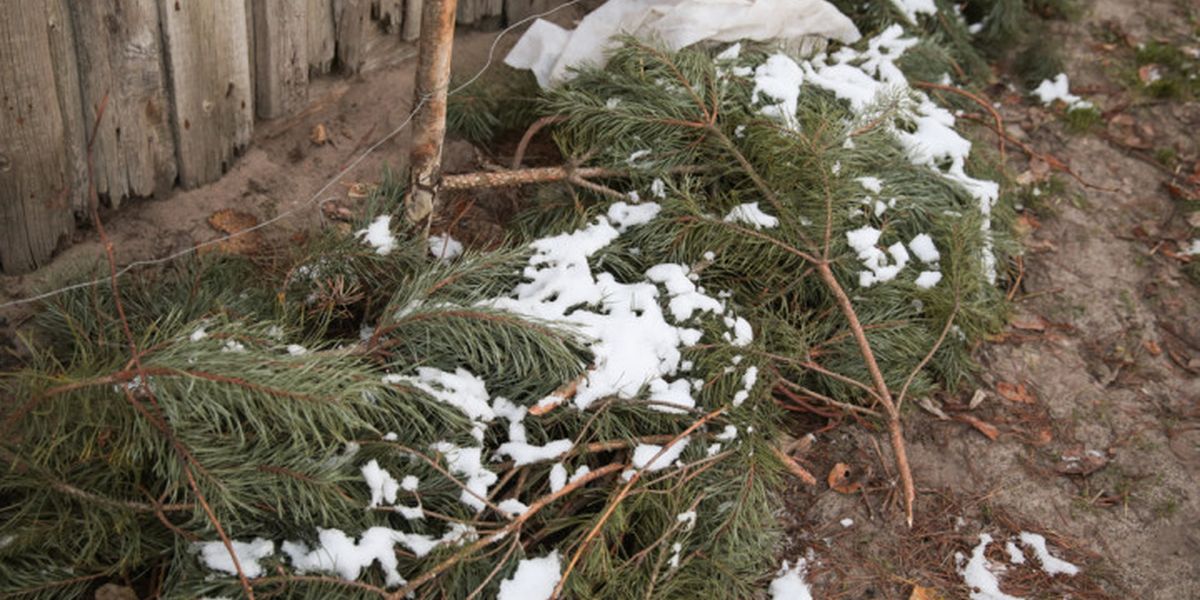
For late planting, mulch the bed generously to protect the cloves from freezing. Use whatever mulch is available: peat, compost, fallen leaves, straw, hay, sawdust, spruce branches. The mulch layer should be at least 10–15 cm. You can place branches on top to prevent wind from blowing it away. Ideally, snow will fall soon after, acting as natural insulation. In spring, remove the cover right after the snow melts to help the soil warm up faster.
Planting winter garlic in spring
When winter has fully set in and the soil is deeply frozen, don’t try to plant garlic in frozen, unthawed ground: without rooting, it will die. In this case, it’s better to plant winter garlic in early spring. But to ensure it grows and matures during the season, garlic must be stored properly over winter. There are two ways to do this.
One of the most reliable storage methods is planting in temporary containers. Prepare a light mix of fertile soil and sand and fill containers with it. Plant the cloves as described above. Planting depth is about 3–5 cm. Water them and place in a cool but frost-free location. This could be an insulated balcony, loggia, cold veranda, basement, or even the bottom shelf of a refrigerator. The key is to maintain a temperature of 0–5°C all winter. In such conditions, garlic will root but won’t grow actively. Check soil moisture periodically to prevent drying out.
In early spring, as soon as the soil thaws, you’ll have ready planting material with a developed root system. Carefully remove it from the containers, trying not to damage the roots, and transplant it into a prepared bed. This garlic may lag slightly behind that planted in autumn, but by harvest time it will catch up.
Another method is storing garlic until spring in cold conditions (this is called stratification). For this, whole garlic bulbs (don’t separate into cloves) are placed in sand or sawdust, slightly moistened, and stored in a cool but frost-free place, such as a basement or refrigerator. By spring, roots will appear.
In spring, when the soil thaws to 15–18 cm, garlic can be planted in beds prepared in autumn. Separate the bulbs into cloves, each with roots (cloves without roots are not suitable for spring planting), and plant them at the same depth as for autumn planting. Mulch the bed and cover with spunbond. Remove the cover after shoots appear. Thanks to the imitation of natural winter conditions, spring-planted winter garlic sprouts quickly and stays healthy throughout the season. In fact, it often matures earlier than garlic planted in autumn.
Although planting winter garlic before the frost is ideal, there are methods that allow you to grow a crop even if you missed the deadline. The main thing is not to panic and choose the right method.