The botanical name of the aster is Calistefus, which means "beautiful crown" in Latin. She really crowns the garden season, decorating the site when almost all perennials have faded. Thanks to the abundance of various varieties, growing an annual aster is very interesting!
Astra has rightly earned universal recognition due to its exceptional diversity: bushes from miniature to giant are decorated with inflorescences of various shapes of all colors and shades. Varieties of asters with a compact form of a bush are used in borders, and tall asters are magnificent in flower beds, competing with chrysanthemum. Astra blooms 3-3.5 months after sowing, so it is better to grow it through seedlings.
Sowing asters for seedlings
The term for sowing asters for seedlings is the beginning of April. For sowing, you can use ready-made soil by adding washed sand to it (0.5 parts of sand per 5 parts of soil). Experienced flower growers prepare the soil mixture for the aster on their own. To do this, carefully mix peat, turf or garden soil, washed sand (2: 1: 0.5), adding 0.5 cups of wood ash or 1-2 tablespoons of dolomite flour for every 5 liters of soil mixture.
After that, the mixture must be sifted and steamed for an hour in a double boiler. After sifting, it is desirable to add 0.5 cups of perlite to the mixture. It allows the soil to "breathe" after watering, absorbs excess moisture, and then slowly releases it to the roots of plants. If the soil mixture for the aster is not steamed, then be sure to place it in a container and spill it until completely wet with a fungicide solution or a dark pink solution of potassium permanganate. These measures must not be neglected, because aster seedlings very often suffer from lodging, or blackleg, caused by various types of fungal infections.
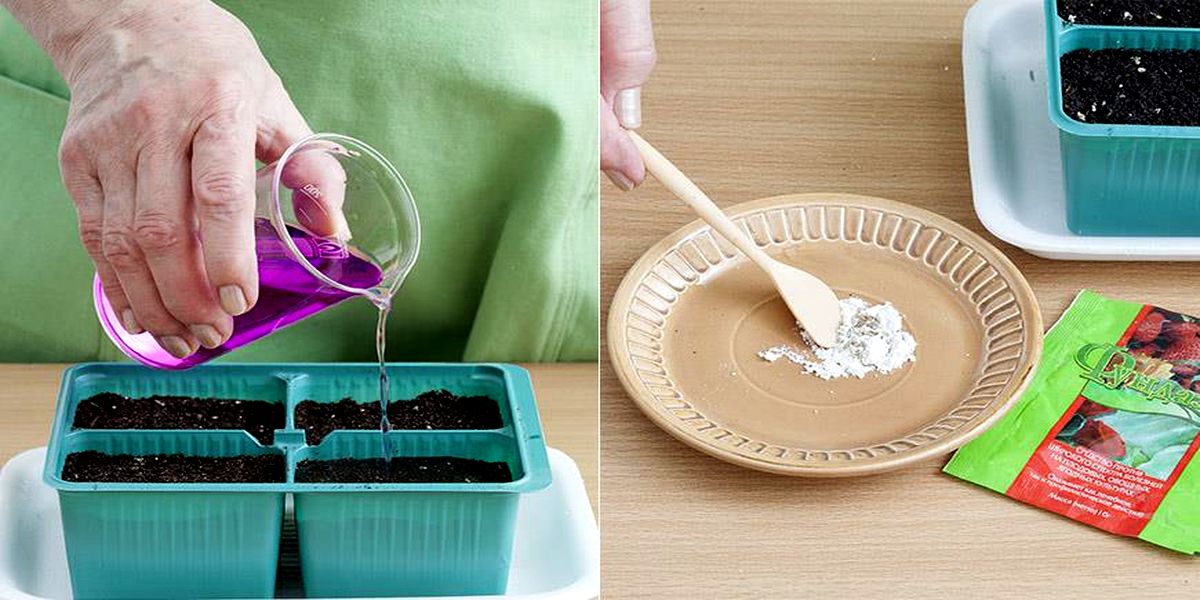
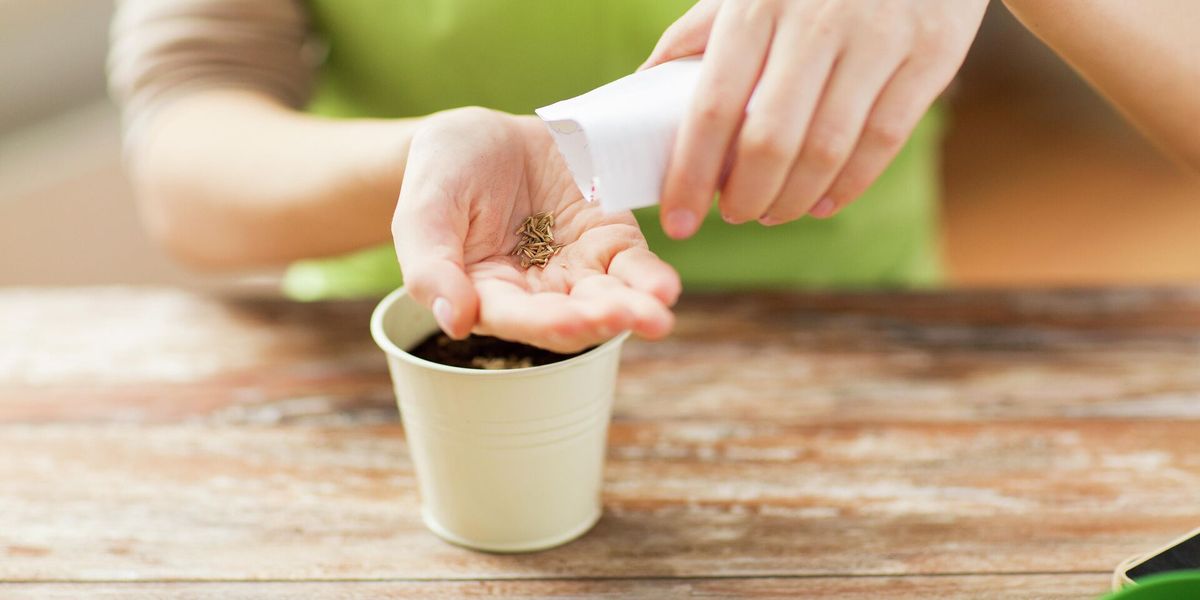
Prepare aster seeds for sowing. To do this, aster seeds must be pickled with a solution of any fungicide before sowing or mixed with a small amount of dry Fundazol, observing all safety measures.
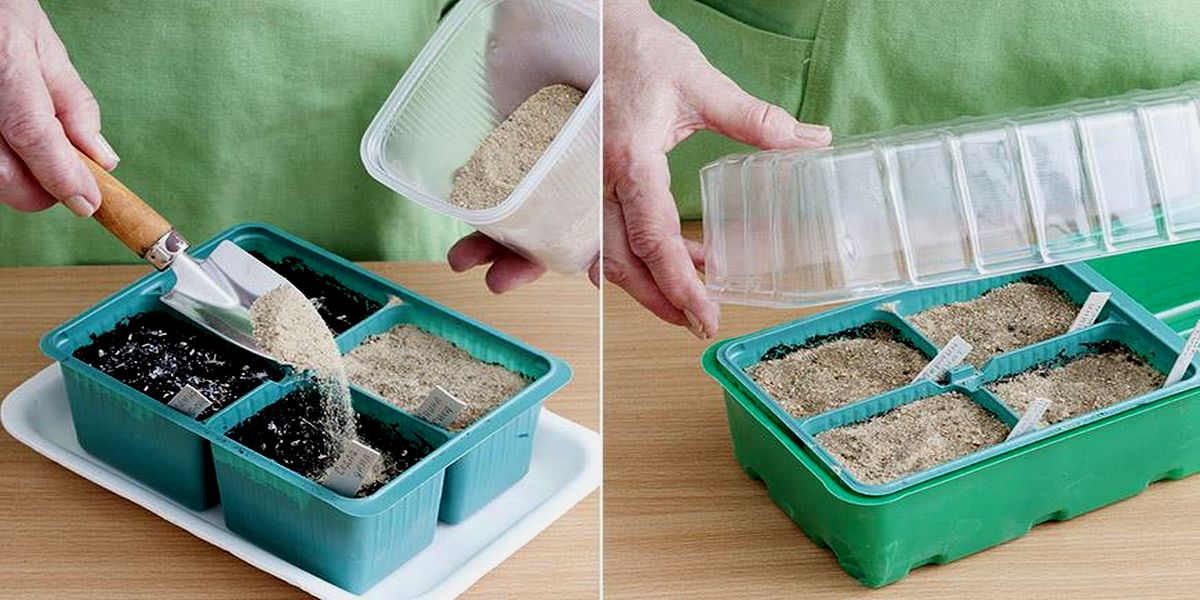
Spread the prepared seeds evenly over the surface of the moist soil, using a small sheet of paper folded in half for this. Immediately put labels with the names of the varieties.
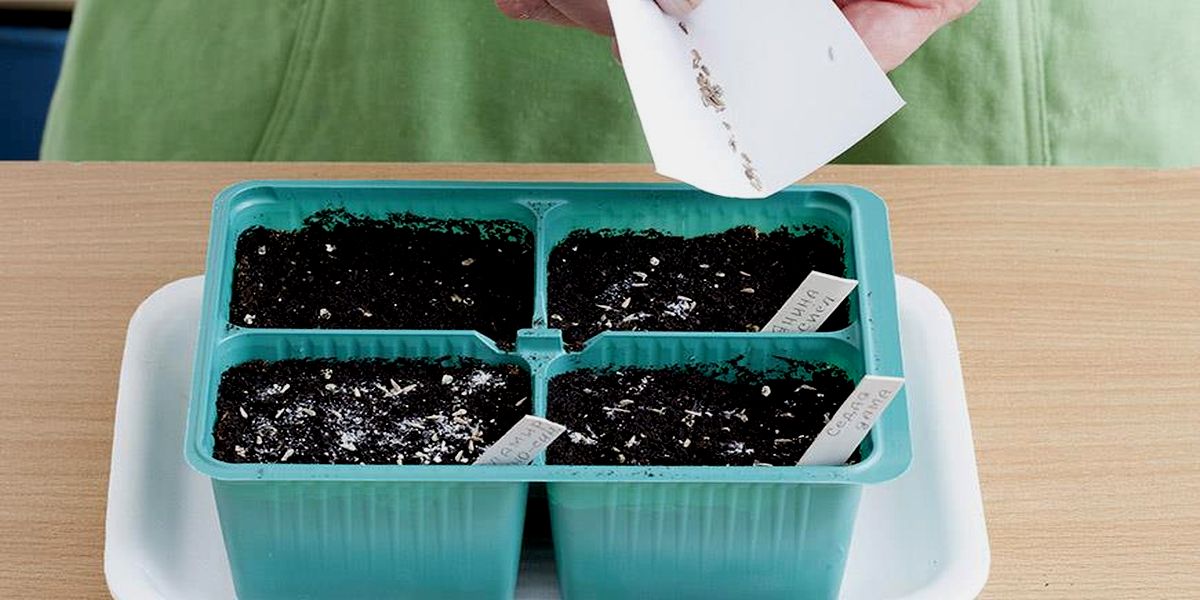
Sprinkle aster seeds on top with well-washed sand (preferably calcined) with a layer of 0.5-0.8 cm. This will protect the root neck of the seedlings from getting stuck during watering and being damaged by the black leg. It is not necessary to water from above, because the moisture from the soil will gradually penetrate into the sand, and it will become moist.
Cover the crops from drying out and place in a warm (+15 ... + 20 ° С) bright place. Keep the sand slightly damp at all times. If necessary, moisten it with a spray bottle.
After 5-7 days, as soon as shoots appear, the shelter must be removed. At this time, it is especially important not to overdo it with watering. It is not scary if the sand dries up from above, because by this time the root of the seedling will already germinate into moist soil. If you nevertheless notice the first signs of a black leg, then diseased plants should be immediately removed with a lump of earth, filling the hole with fresh soil. After that, water the soil again with the fungicide solution.
Picking aster seedlings
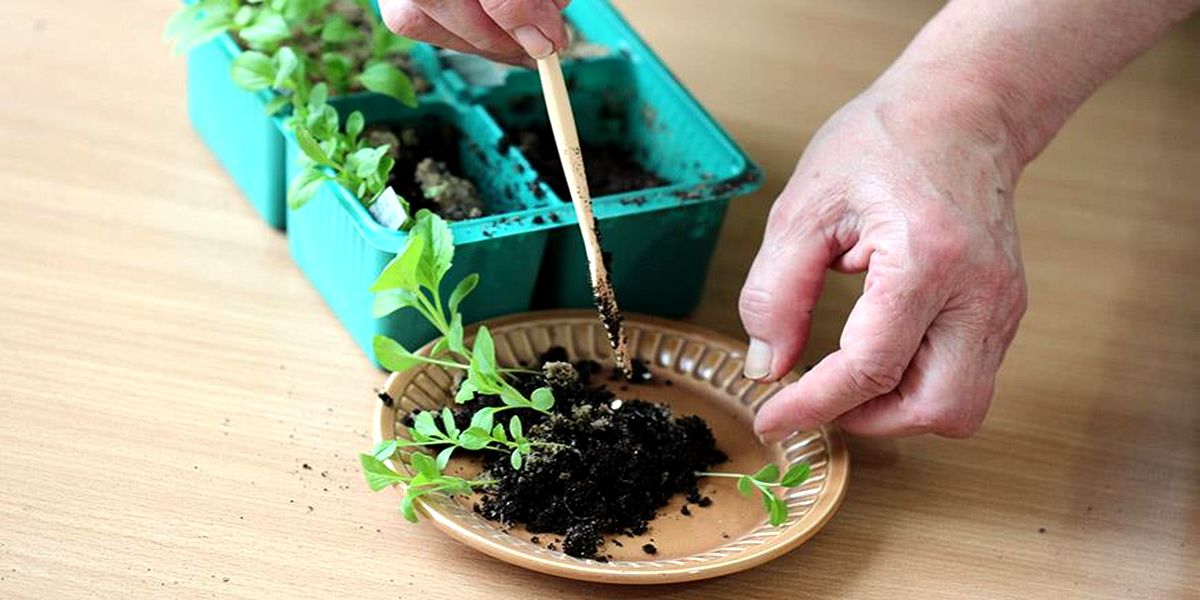
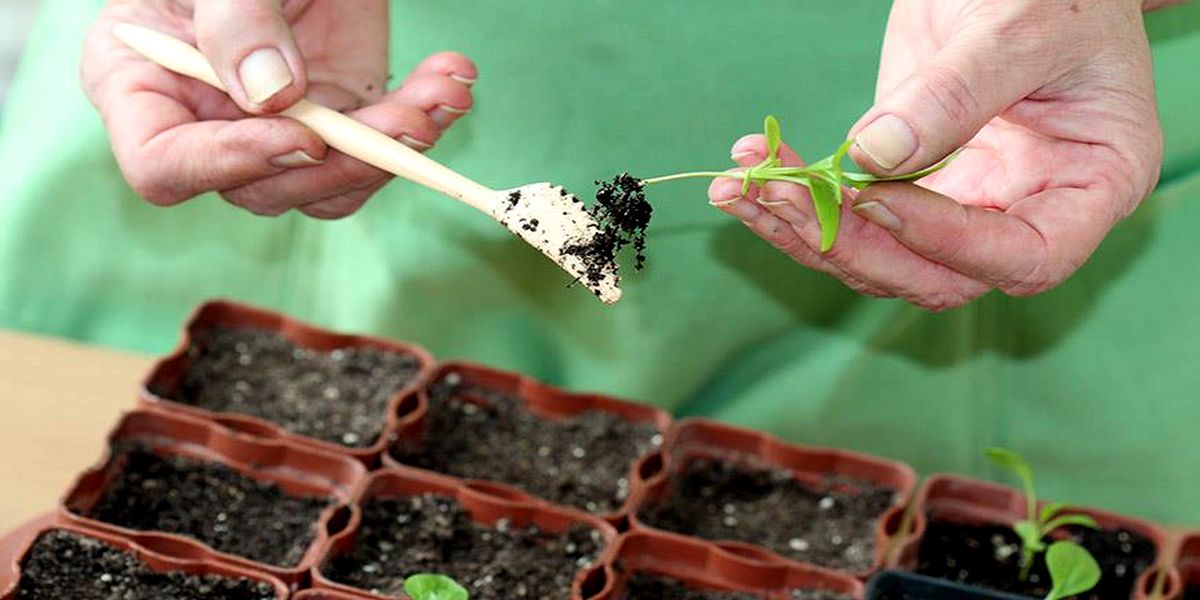
With the formation of 2-3 true leaves, aster seedlings are ready for picking. To do this, you can use the previous composition of the soil (as for sowing - read above), but without sifting. Add 1 tablespoon of a complete mineral fertilizer containing nitrogen, phosphorus, potassium and trace elements to the mixture. In order for the fertilizers to be evenly distributed, the mixture must be thoroughly mixed.
Fill pots or cassettes with the prepared soil mixture, compact a little so that the soil does not settle too much when watering. Make indentations in the pot with a spatula so that the roots of the seedling can freely fit in them. If the roots are too large, you can pinch them a little. Place the seedling in a hole with a slight depth so that about 1 cm remains before the cotyledon leaves.
Carefully compact the soil around the aster seedling so that when watering it is not knocked out by water.
Carefully water the pickled seedlings. Watering, try to start from the edge of the pot to the middle, if possible without falling on the leaves. Set the seedlings in a bright place, make sure that at first it does not get direct sunlight. The temperature should not exceed +20°C.
If you correctly filled the soil mixture with mineral fertilizers, then at first you don’t have to worry about feeding aster seedlings. If planting seedlings for some reason is delayed, then feed it with any mineral fertilizer for seedlings (Fertika, Agricola, Mortar, etc.). With the advent of 4-5 leaves, start hardening off seedlings of aster in the fresh air.
Planting seedlings of an annual aster in the ground
It is desirable that when planting the aster stem does not exceed 5-7 cm. Seedlings should have 5-6 well-developed leaves and undergo hardening. Overgrown plants will not bloom well. Outdoor hardened aster plants withstand short-term frosts down to -2°C.
Astra grows well in sunny places, while maintaining slight shading. The place for planting it needs to be changed every year, especially if the plants suffered from Fusarium in the previous summer. The spores of this fungus persist in the soil for up to 5-6 years. The place where gladioli used to grow is also not suitable, because they are subject to the same diseases as asters.
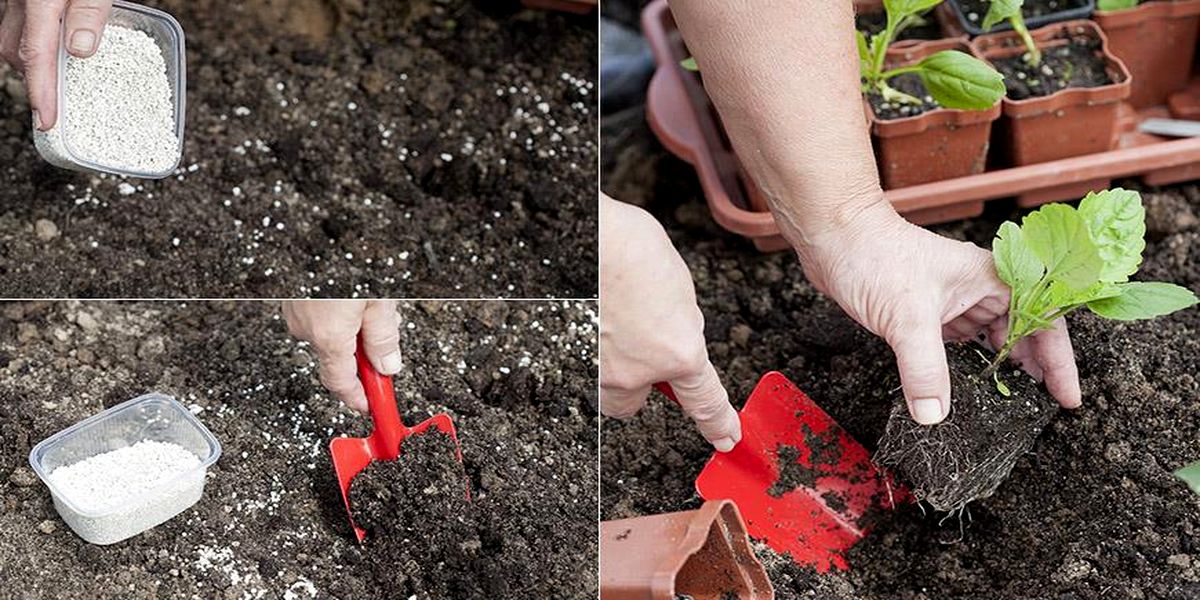
If the soil in your area has high acidity, and you have not applied lime since autumn, then add 120-200 g of dolomite flour or one and a half cups of wood ash per 1 sq. m area. On very heavy clay soils, add additional peat and sand. It is also necessary to apply 40-50 g of complete mineral fertilizer (Nitroammophoska) per 1 square meter before planting. m. Mix thoroughly so that the fertilizer is evenly distributed in the topsoil. The bulk of the roots of the aster is at a depth of 15-20 cm. The aster does not tolerate fresh manure at all.
It is best to plant seedlings of asters in the evening hours. The distance between plants is from 15 to 30 cm, depending on the variety. If for some reason the seedlings are too long during cultivation, then when planting, deepen it by 2-3 cm. After planting, compact the soil around the plant in the form of a hole for watering.
After planting, water the seedlings in the holes and mulch the soil with peat so that a crust does not form.
Further care consists in watering, loosening and weeding from weeds. It is important to keep the soil loose. In the second half of summer, the aster is fed with fertilizers containing phosphorus and potassium. Phosphorus (20-30 g of superphosphate per 1 sq. m) contributes to abundant flowering and brighter coloring of inflorescences, and potassium (15-20 g of potassium salt per 1 sq. m) significantly increases the resistance of plants to various diseases.